|
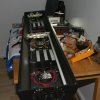
Current Nova Extreme Pro - Silent Fan MOD by b.deren (xoomer) |
|||||||||||||||||||||||||||||||||||||||||||||||
|
|
|||||||||||||||||||||||||||||||||||||||||||||||
|
|
|||||||||||||||||||||||||||||||||||||||||||||||
|
|||||||||||||||||||||||||||||||||||||||||||||||
|
|||||||||||||||||||||||||||||||||||||||||||||||
| Instructions: | |||||||||||||||||||||||||||||||||||||||||||||||
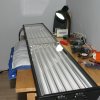
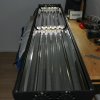
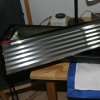
| Remove the protective acrylic cover and carefully remove all bulbs. Remove 8 screws holding the reflectors (there are 2 on each side, and 4 in the center near bulb sockets). Carefully remove reflectors (2) as not to bend them. They are made from a very light and thin material, so take it easy removing them. | |||||||||||||||||||||||||||||||||||||||||||||||
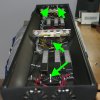
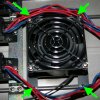
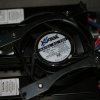
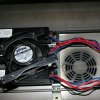
| Once they are out, you will have all the insides exposed. You will notice that there are 4 fans that need to be removed 2 blowing upward from the fixture and 2 blowing out from the side (right between the switches). | |||||||||||||||||||||||||||||||||||||||||||||||
|
Remove fans by
unscrewing the 4 screws that hold the fan brackets. Cut off the
wires providing power to the fans. Remove mounting brackets and fan
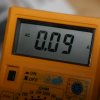
screen from the fan (these will be used to mount new fans). NOTE: I've measured actual power draw of stock fans and I was shocked. They each draw around .10A which translates to around 11 Watts each or over 40 Watts for all 4. That is considerable electricity draw for such devices and eliminating them will provide decent savings on electricity bills in the coming years. |
|||||||||||||||||||||||||||||||||||||||||||||||
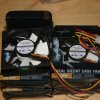
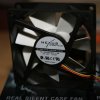
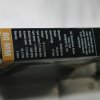
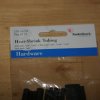
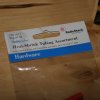
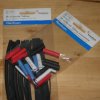
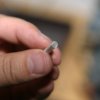
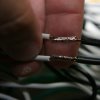
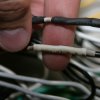
| You are now ready to prepare new fans for installation. Remove them from their boxes and straighten out the wires. Cut off all connectors leaving you with 3 loose wires (yellow, black and red). Cut them close to the connectors so the leads are as long as possible. Cut the yellow lead about 4 inches from the fan and insert a pieces of heat-shrink tubing to cover the end of lead (as per picture). Use heat-gun or a cigarette lighter to blow over the jacket so that it shrinks insulating the yellow lead inside. This is only for aesthetics as the yellow lead is not going to be used in this project, you only need red (+) positive and black (-) negative wires. Strip the ends of the wires about 5/8 of an inch so that they are ready for soldering later on. | |||||||||||||||||||||||||||||||||||||||||||||||
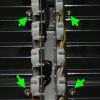
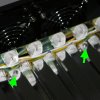
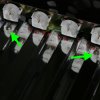
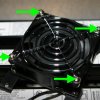
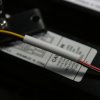
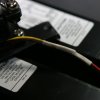
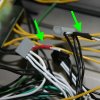
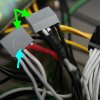
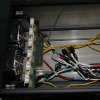
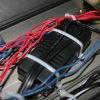
| Before reinstalling fan brackets and fans into the fixture, cut off factory cable ties (zip ties) and pull out all unnecessary wires that were used to power those fans. Cut them about 2-3 inches from the tap (gray and black blocks). Use heat-shrink tubing to insulate any unused wires (I have used two pieces of different sizes to double-insulate all wires). The gray blocks supply power to stage-1 and black blocks supply stage-2. You will need to completely insulate wires (4 wires) you've cut off from black blocks. You will only use wires that come out of gray blocks to power your 12V power supply. Blue arrow (see pictures) indicates HOT wire as indicated on the gray cover. Notice double insulation (using different size tubing) on wires. | |||||||||||||||||||||||||||||||||||||||||||||||
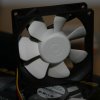
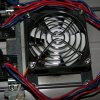
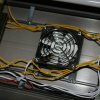
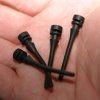
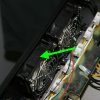
| Install brackets and screens onto all fans and install assembled fans onto the fixture. Watch markings on the fan case to ensure proper direction of air flow. All fans should be set as "exhaust" expelling hot air from inside of the fixture out. I've used screws to mount 2 fans to the top of the fixtures and rubber ties (provided with fans) to install the remainder 2 to the sidewall. It was PITA to install the original screws so I just used the rubbers which will also further minimize vibrations. If you want to use screws instead, just get 8 fan screws that are normally used to fasten fans to a PC case. | |||||||||||||||||||||||||||||||||||||||||||||||
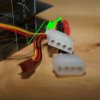
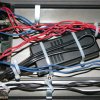
| Install the power supply anywhere there is space in the fixture. Make sure you lay it flat so that it fits underneath the reflector. Make all necessary connections using soldering iron, insulating all connections with two pieces of tubing. You don't want any loose connections or exposed wires. | |||||||||||||||||||||||||||||||||||||||||||||||
| Double check all of your work, organize all cables using new zip ties and do a test run by switching on your stage-1 switch. I have wired all fans to go on with stage 1 lights (4 actinics) as it was only logical that these lights are on before Stage 2 goes on. They are so quiet it doesn't matter whether 2 or 4 fans are on. Extra cooling is always desired for longer bulb life anyway. If all works fine (it should if you did everything correctly), reinstall reflectors, bulbs and acrylic shield. You are done and your fixture is not only quieter but also more energy efficient. | |||||||||||||||||||||||||||||||||||||||||||||||
| You and your family can sleep in peace now. Looks like the effects are instantaneous :-) | |||||||||||||||||||||||||||||||||||||||||||||||
|
Questions? Comments?
xoomer [at] xoomer.com
> If you'd like to ask questions or discuss this mod please post here... http://www.reeferscafe.com/diy-do-yourself/4259-making-your-light-fixture-silent.html |
|||||||||||||||||||||||||||||||||||||||||||||||
|
|||||||||||||||||||||||||||||||||||||||||||||||
